Long before I had a kid, I always had bean teepees in our garden. I didn’t have a lot of existing vertical space in full sun for growing beans, so I would collect long branches and pop one of these up every spring. They add a really fun, vertical element to the summer garden when they are covered with scarlet runner beans.

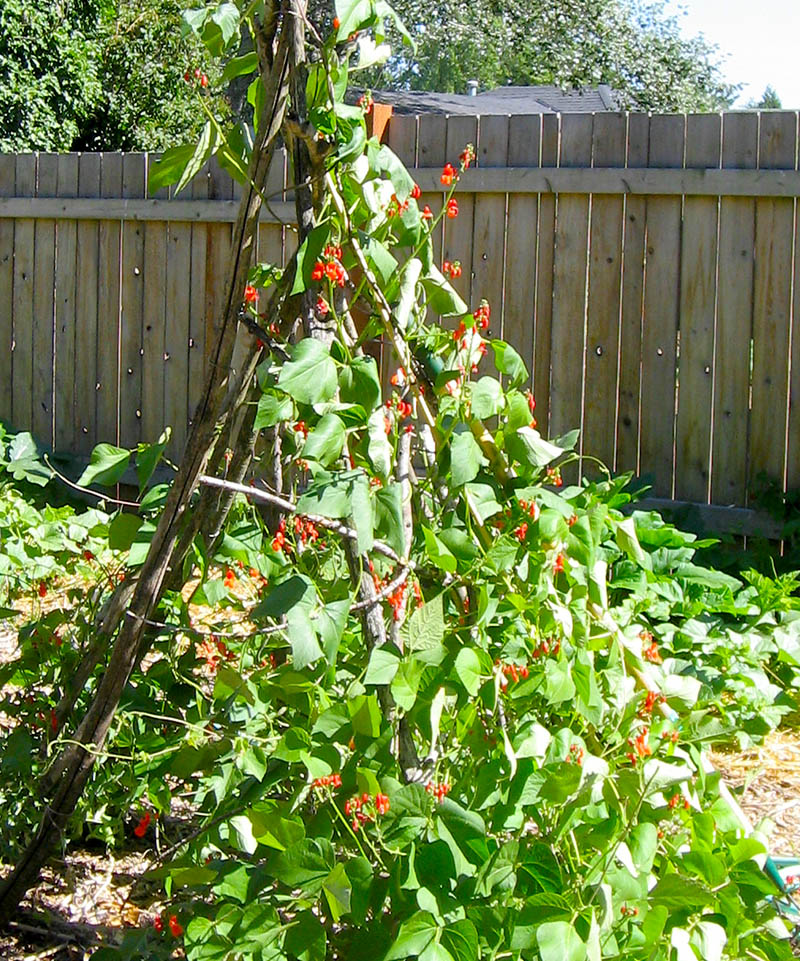
Bean teepee from our old homestead covered with scarlet runner beans
This year I dreamed of an even bigger teepee – one that could function as pole bean growing space and also a play area for Juniper. A teepee can be super fancy or super rustic – it’s all up to you. The basic supplies are simple: something to act as poles and something to tie them securely together at the top. Dropping a big chunk of change on a beautiful, whimsical garden art element can be totally worth it in the right garden. My garden, however, is not that garden so I went the rustic/simple route.

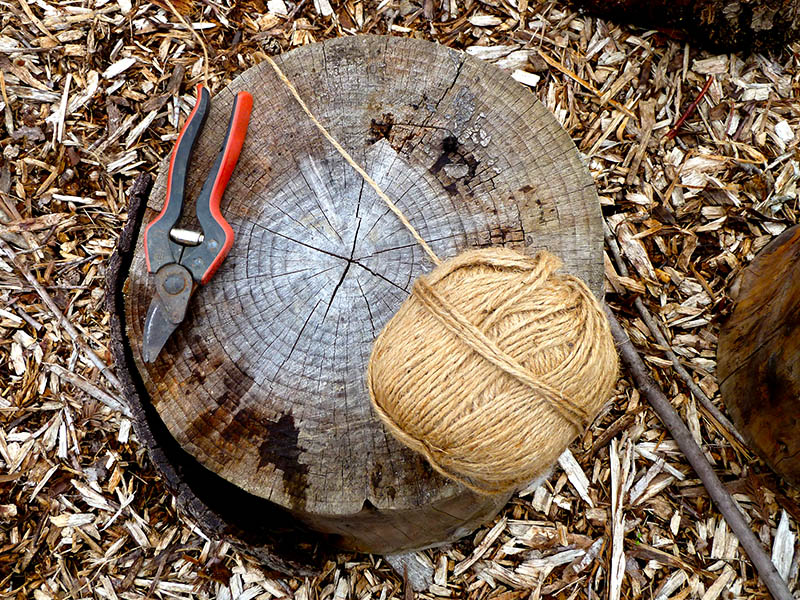
Simple supplies for constructing a teepee: poles, twine and wire, if needed
The poles can be nice bamboo poles, your old holiday tree trunk, long branches from your pruned fruit trees, or even willow shoots which will regrow into a “living” teepee once planted in soil. I dug around the tool shed and found a heap of green garden poles I inherited from my grandparents house when they downsized. It’s not as pretty, but Juniper doesn’t care and I doubt the beans will either. To tie them off, you shouldn’t need more than twine or wire.

Small pallet to serve as the base for Juniper’s new hideout
I left an open area of wood chips in the middle of the garden for an ever-changing nature play area. Along the back edge, I placed a small pallet we found a few weeks ago to serve as the stage/base/seating area for the teepee. We’ll likely cover it with an old quilt so prevent slivers this summer. Juniper helped me push each pole down into the ground until it felt secure when we tried to wobble it back and forth. We used about ten 6′ tall poles to form a 4′ circle.

Very poorly tied off teepee using a mix of wire and twine to securely hold together
Let me be the first to say that there is a better way to tie the top of a teepee together. I wanted the dome to be as wide as possible, so I tied everything together too close to the top of each pole. To do this correctly, you should tie them together further down on the poles so there is enough room for them to overlap. That will create a narrow space where they intersect to tie off. To secure it, I used a messy combination of twine and wire. It’s not pretty, but it did the trick.

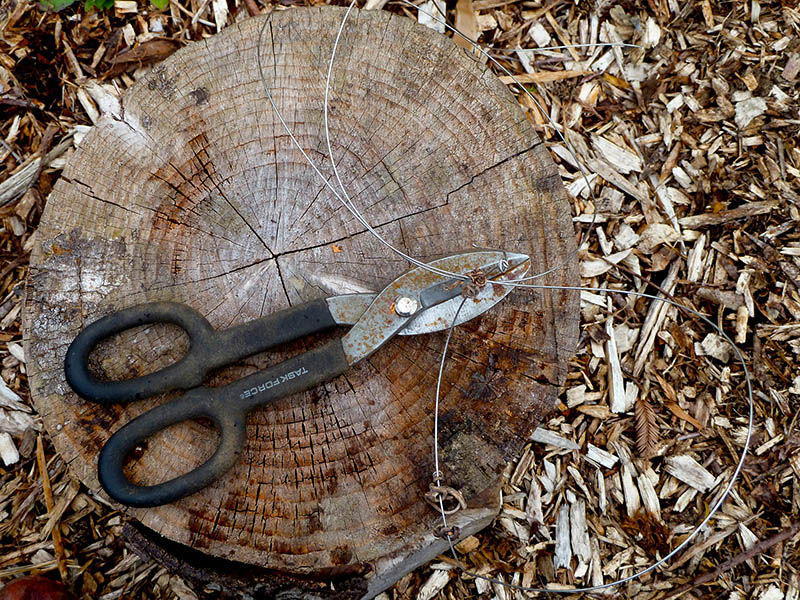
Optional supplies: wire and wire cutters
Next, Juniper and I carefully tied twine around each pole, spacing the rows of twine about 4″ apart. This will serve as the support for our pole beans – something easy for them to grab onto as they grow up the sides. Twine will relax and sag over time, so we kept it as taut as we could. I’m hoping to leave it in place until the weather destroys it a few summers from now.

Tie twine around the teepee poles every 4-6″ to help beans climb (Juniper took this picture!)
We quickly planted bean seeds in the ground, about 4-6″ apart from each other, at the base of the teepee. It’s a bit early for direct sowing beans, but Portland is having an unseasonably warm spring. They are a mix of scarlet runner beans and a green pole bean. I also planted french sorrel on either side of the teepee entrance, which is a spinach-like green with a lemony-tart flavor that Juniper loves.

Juniper enjoying her new digs – the perfect place to sort her garden treasures.
Juniper is already loving her new play space! It’s become her little space to organize her rock collection, draw chalk on the pallet and examine her garden treasures. It makes me smile every morning when we sit down for breakfast and I see it from our kitchen window. I’m excited to show you how it grows in over the next few months!
Are you interested in making a teepee for your backyard? There are tons of great ideas online for teepees covered with sheets, teepees made from pallets and a few others I have collected on my Pinterest board. The one I made is rustic, inexpensive and super quick. It took us about 30-45 minutes from start to finish. I would love to hear about your project if you build one in your garden!
The post Bean Play Teepee first appeared on Hip Chick Digs.

Bean teepee from our old homestead covered with scarlet runner beans
This year I dreamed of an even bigger teepee – one that could function as pole bean growing space and also a play area for Juniper. A teepee can be super fancy or super rustic – it’s all up to you. The basic supplies are simple: something to act as poles and something to tie them securely together at the top. Dropping a big chunk of change on a beautiful, whimsical garden art element can be totally worth it in the right garden. My garden, however, is not that garden so I went the rustic/simple route.

Simple supplies for constructing a teepee: poles, twine and wire, if needed
The poles can be nice bamboo poles, your old holiday tree trunk, long branches from your pruned fruit trees, or even willow shoots which will regrow into a “living” teepee once planted in soil. I dug around the tool shed and found a heap of green garden poles I inherited from my grandparents house when they downsized. It’s not as pretty, but Juniper doesn’t care and I doubt the beans will either. To tie them off, you shouldn’t need more than twine or wire.

Small pallet to serve as the base for Juniper’s new hideout
I left an open area of wood chips in the middle of the garden for an ever-changing nature play area. Along the back edge, I placed a small pallet we found a few weeks ago to serve as the stage/base/seating area for the teepee. We’ll likely cover it with an old quilt so prevent slivers this summer. Juniper helped me push each pole down into the ground until it felt secure when we tried to wobble it back and forth. We used about ten 6′ tall poles to form a 4′ circle.

Very poorly tied off teepee using a mix of wire and twine to securely hold together
Let me be the first to say that there is a better way to tie the top of a teepee together. I wanted the dome to be as wide as possible, so I tied everything together too close to the top of each pole. To do this correctly, you should tie them together further down on the poles so there is enough room for them to overlap. That will create a narrow space where they intersect to tie off. To secure it, I used a messy combination of twine and wire. It’s not pretty, but it did the trick.

Optional supplies: wire and wire cutters
Next, Juniper and I carefully tied twine around each pole, spacing the rows of twine about 4″ apart. This will serve as the support for our pole beans – something easy for them to grab onto as they grow up the sides. Twine will relax and sag over time, so we kept it as taut as we could. I’m hoping to leave it in place until the weather destroys it a few summers from now.

Tie twine around the teepee poles every 4-6″ to help beans climb (Juniper took this picture!)
We quickly planted bean seeds in the ground, about 4-6″ apart from each other, at the base of the teepee. It’s a bit early for direct sowing beans, but Portland is having an unseasonably warm spring. They are a mix of scarlet runner beans and a green pole bean. I also planted french sorrel on either side of the teepee entrance, which is a spinach-like green with a lemony-tart flavor that Juniper loves.

Juniper enjoying her new digs – the perfect place to sort her garden treasures.
Juniper is already loving her new play space! It’s become her little space to organize her rock collection, draw chalk on the pallet and examine her garden treasures. It makes me smile every morning when we sit down for breakfast and I see it from our kitchen window. I’m excited to show you how it grows in over the next few months!
Are you interested in making a teepee for your backyard? There are tons of great ideas online for teepees covered with sheets, teepees made from pallets and a few others I have collected on my Pinterest board. The one I made is rustic, inexpensive and super quick. It took us about 30-45 minutes from start to finish. I would love to hear about your project if you build one in your garden!
The post Bean Play Teepee first appeared on Hip Chick Digs.
